Working with Data Flows
A data flow connects two endpoints so that data can be transferred between them. Typcially, a data flow consists of a source endpoint, some optional data processing you specify, and a destination endpoint. The type of processing that is possible in a data flow depends on the protocols of the endpoints.
-
Go to the page and click the Add Data Flow
button.
 The New Data Flow displays.
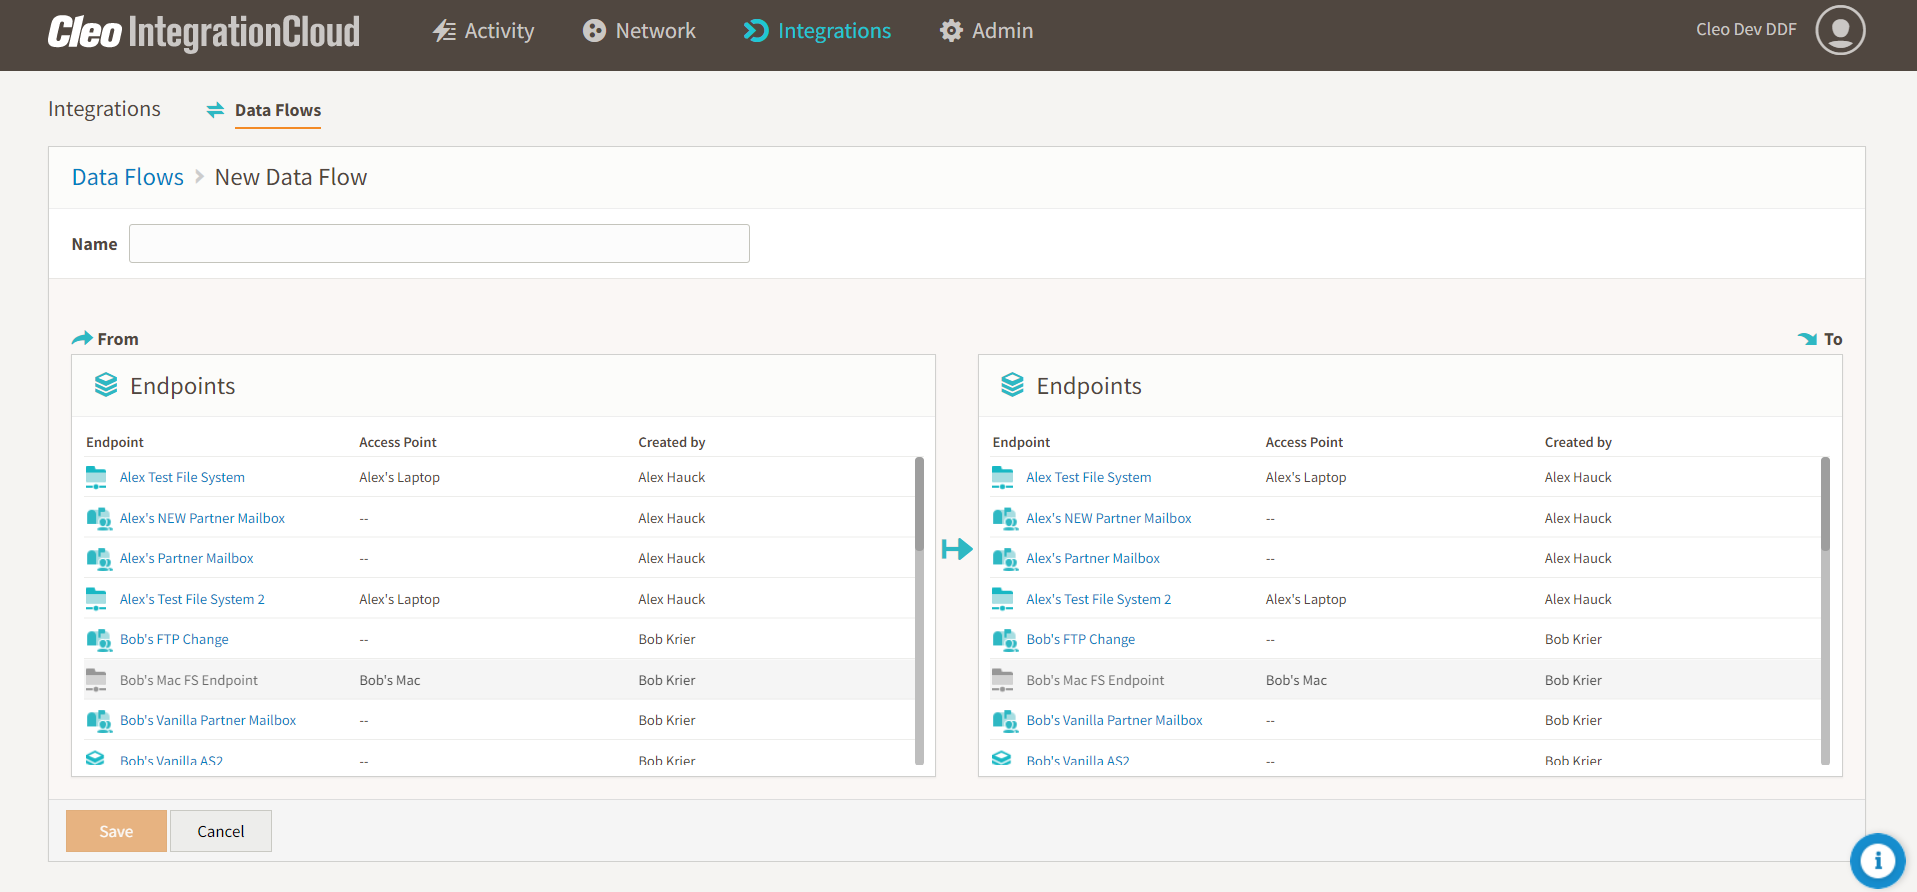
-
Select an endpoint from the From Endpoints list. This will be your source
endpoint.
There are several kinds of endpoints you can choose from:
- File System
- AS2
- FTP
- SFTP
- Partner Mailbox
- Transformation
You can choose to filter your From endpoint so that only files that meet your criteria are transferred.Depending on the type of endpoint you select, you can specify additional information about paths or commands. For example, for File System endpoint, you can click the pencil icon to enter path information directly. If you choose a Transformation endpoint, there is no further configuration possible from this page. See Understanding integrations that include transformations for more information.