Working with Access Points
Adding an access point is a two-step process, where you download and install agent software, and then configure your system as an access point.
You can run the download-and-install script on a local machine or a remote machine.
-
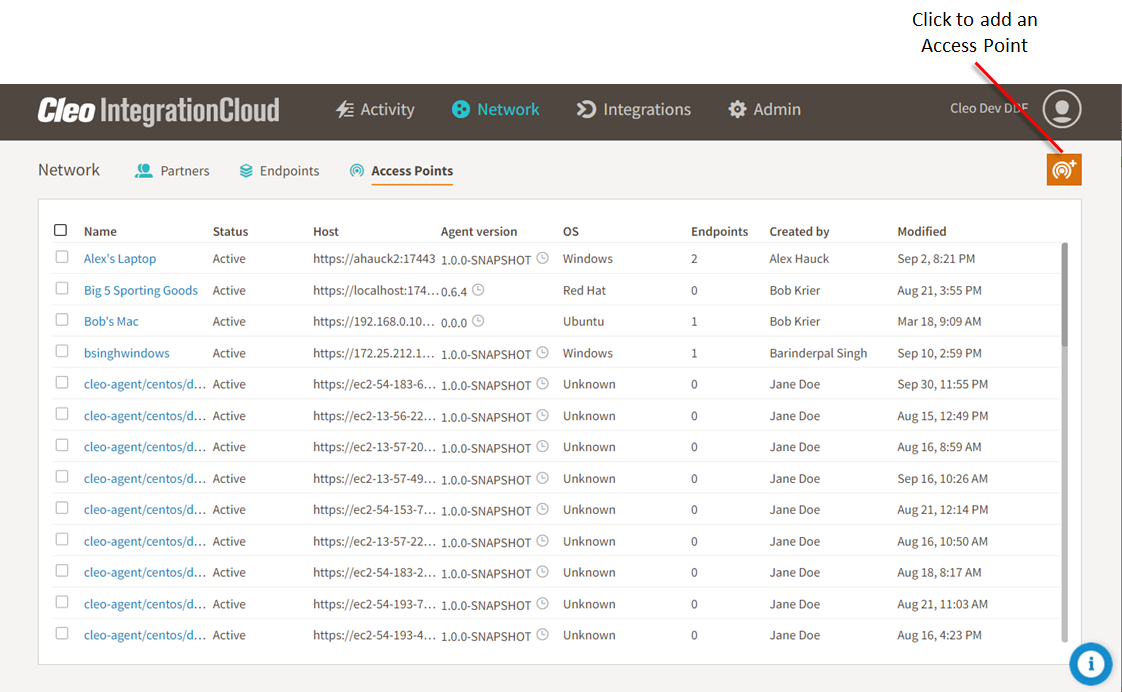
Go to the page and click the Add Access Point
button.
-
Enter a Name, Host and Port. The host and port you enter are used for the
actual data transfer between access points.
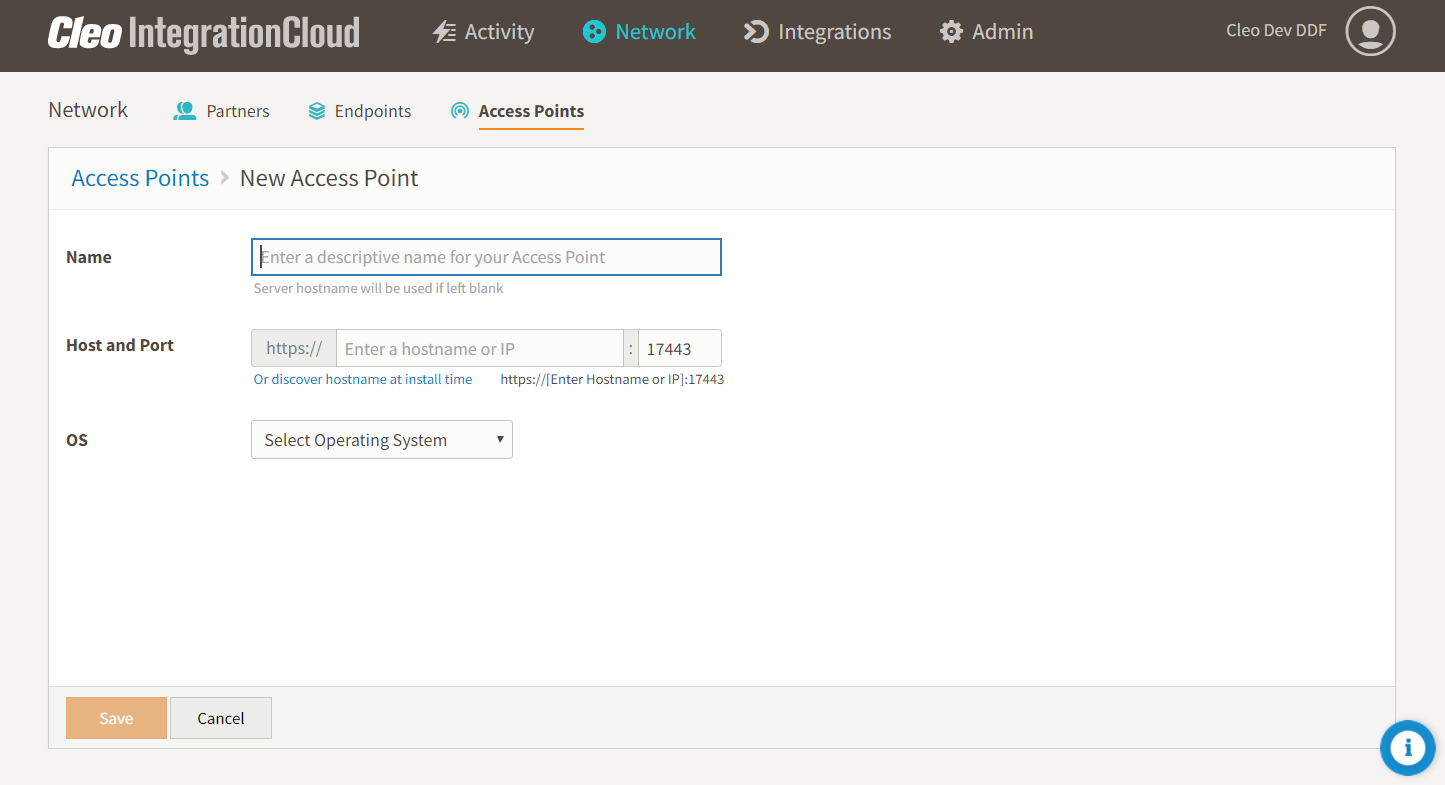
For the Host, you can specify a value (an IP address or a hostname) or let the system discover the value when the Access Point software is installed.Note: If you specify a value, it must begin with https:// and it must include the port 17443.Your Access Point must have a hostname or an IP address. Any Endpoint you create on an Access Point without a hostname or IP address will not function properly as either target or source for a Data Flow.